How to use the Deepod for Geoscience
1a
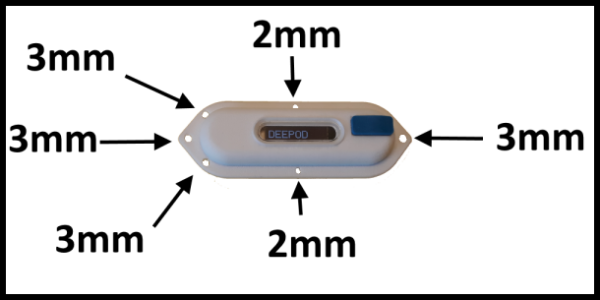
Attaching to other equipment
To attach to other equipment such as buoys, traps or diving equipment it is possible to use the available holes in the flange.
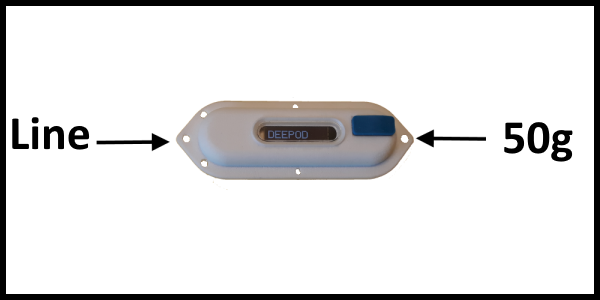
1b
Attaching to a vertical line (Alternative)
If you want to sink the Deepod down with a line or wire attach in one hole as indicated in the image below.
The Deepod works best when oriented vertically in the water. Add a weight as indicated on the picture to get the right balance.
2
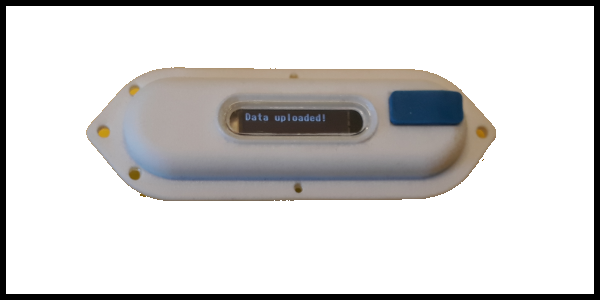
Power on Deepod
Turn on the unit by operating the blue power switch.
The power switch is possible to turn to a secure position. This is good for transportation and storage since it does not easily power on by mistake.
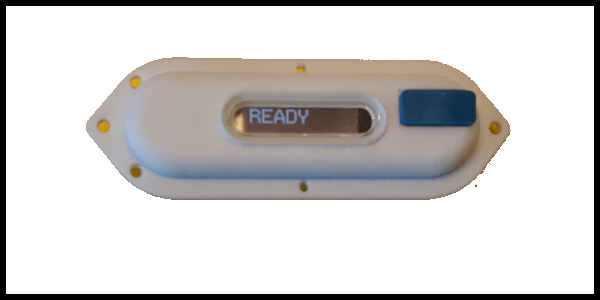
Turn on the power switch to the ready position (not yet powered on).
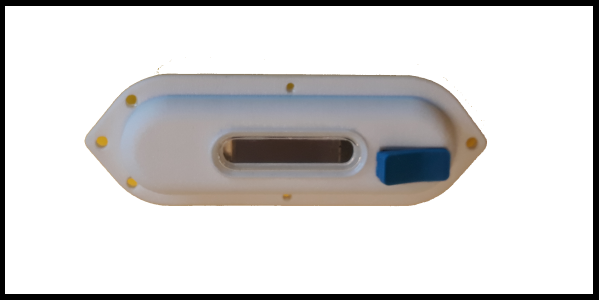
Power on the device by pushing the tab down fully into the groove.
3
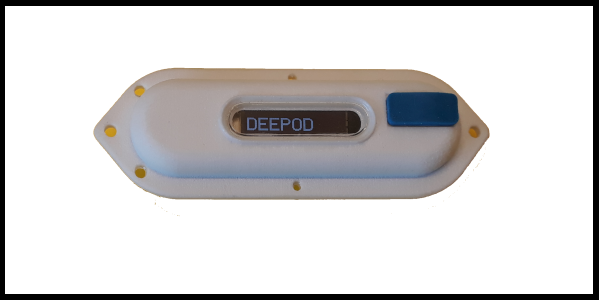
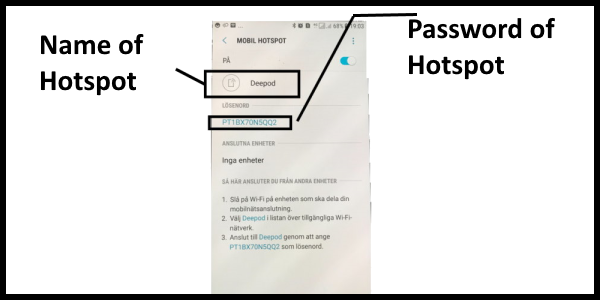
Connecting to WiFi
The unit will automatically try to connect to the WiFi hotspot.
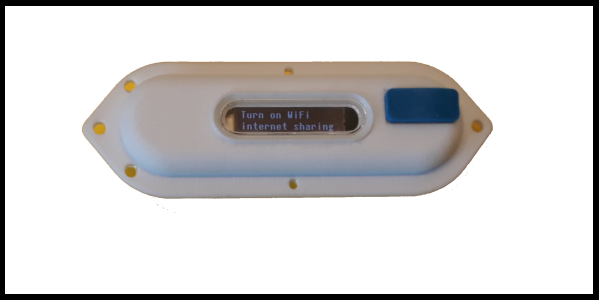
The name of your hotspot and the name displayed by the unit must be the same.
If you have another name you can either change the name of your hotspot or the name in the unit (See 4).

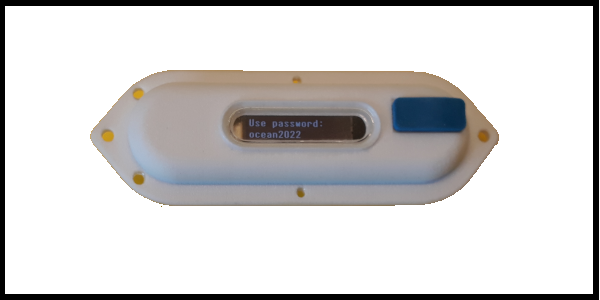
The password of your hotspot and the password displayed by the unit must be the same.
If you have another password you can either change the password of your hotspot or the password in the unit (See 4).
4a
Changing the name and password of WiFi in Deepod
The name and password of the WiFi connection can be changed in the Deepod menu.
4b
Changing the name and password of WiFi hotspot in your phone (Alternative)
Android smart phone
You can access the data for the hotspot in the settings menu. Goto connection and moboile hotspot.
5
Prepare logging (Optional)
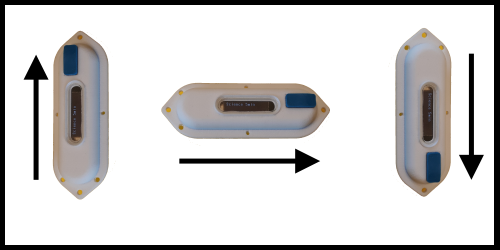
You can control the sampling interval by holding the unit in a certain angle while powering on the unit.
Holding the unit with the power switch in the up position gives an sampling interval of 30s (left in image).
Holding the unit with the power switch in the horizontal position gives an sampling interval of 5min (middle image).
Holding the unit with the power switch in the down position gives an sampling interval of 60min (right image).
6
Start logging
After the unit has been connected to the hotspot successfully you can start the logging simply by putting it in the water.
Logging will start immediately at 1 meter water depth.
It is also possible to start the unit above the water line by moving the joystick down.

7
Sending of data
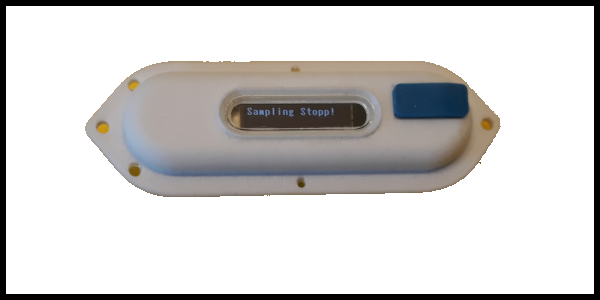
The unit will automatically stop logging when above the water line.
There is a delay time that starts counting down after the unit is first taken above the waterline. After the countdown is expired the unit immidiately goes to stop.
After stopping the unit will try to access the internet network to send the data to the cloud database.
If the internet is unavailable the data will be stored in flash memory and retained until internet is again available.
All stored data will be sent automatically at next power on.
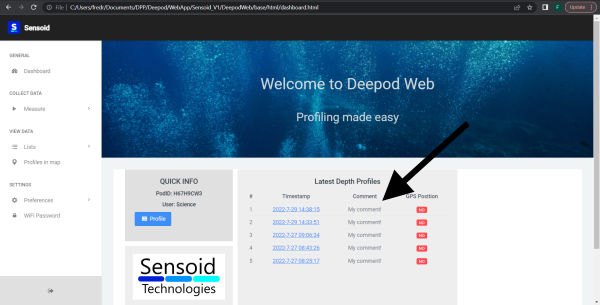
8
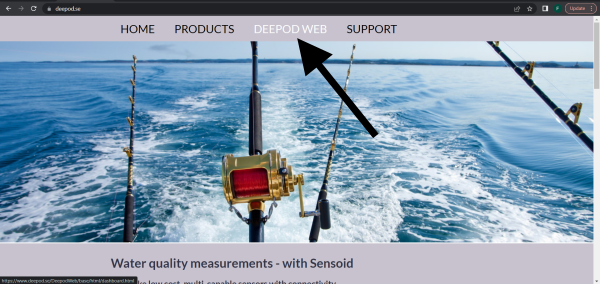
Access data online
All data can be viewed on ur website "Deepod Web". Click the menu to enter.
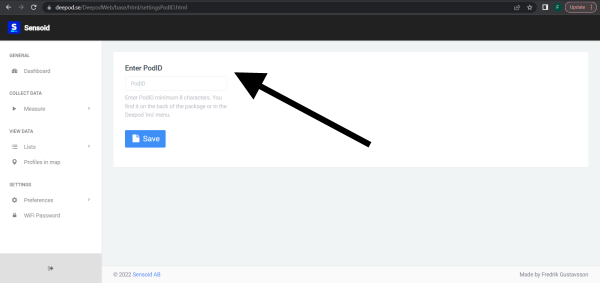
If you eneter for the first time you will be asked to eneter your PodID. This is a unique code that is printed on the back of the packaging that the Deepod ships in.
You can always find it in the Deepod settings menu under "INO".
Enter the PodID and press SAVE. After 3 seconds the page will be redirected to the dash board.
On the dash board you can see and overview of the latest data you have collected with your Deepod.
Click on a timestamp to go further and explore.